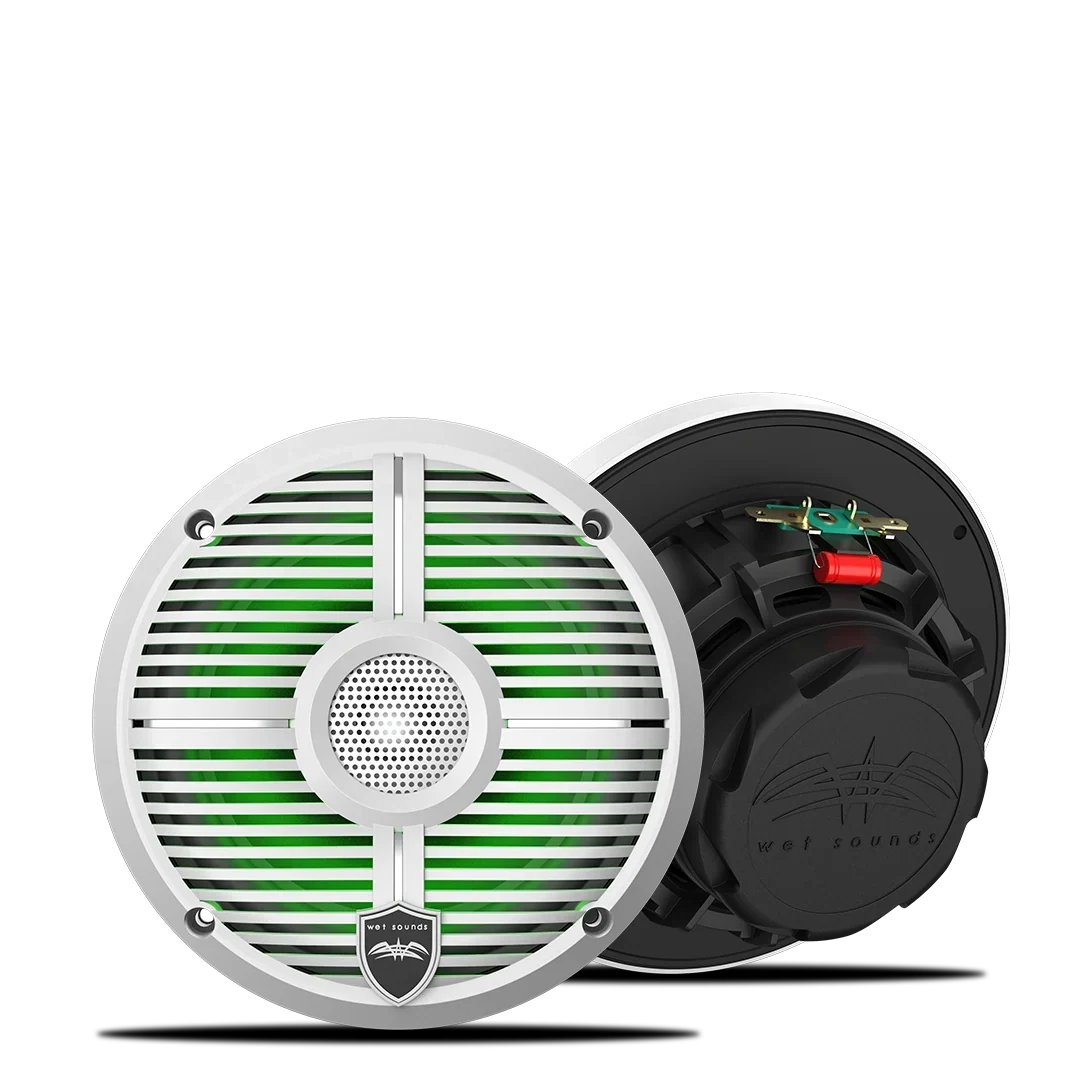
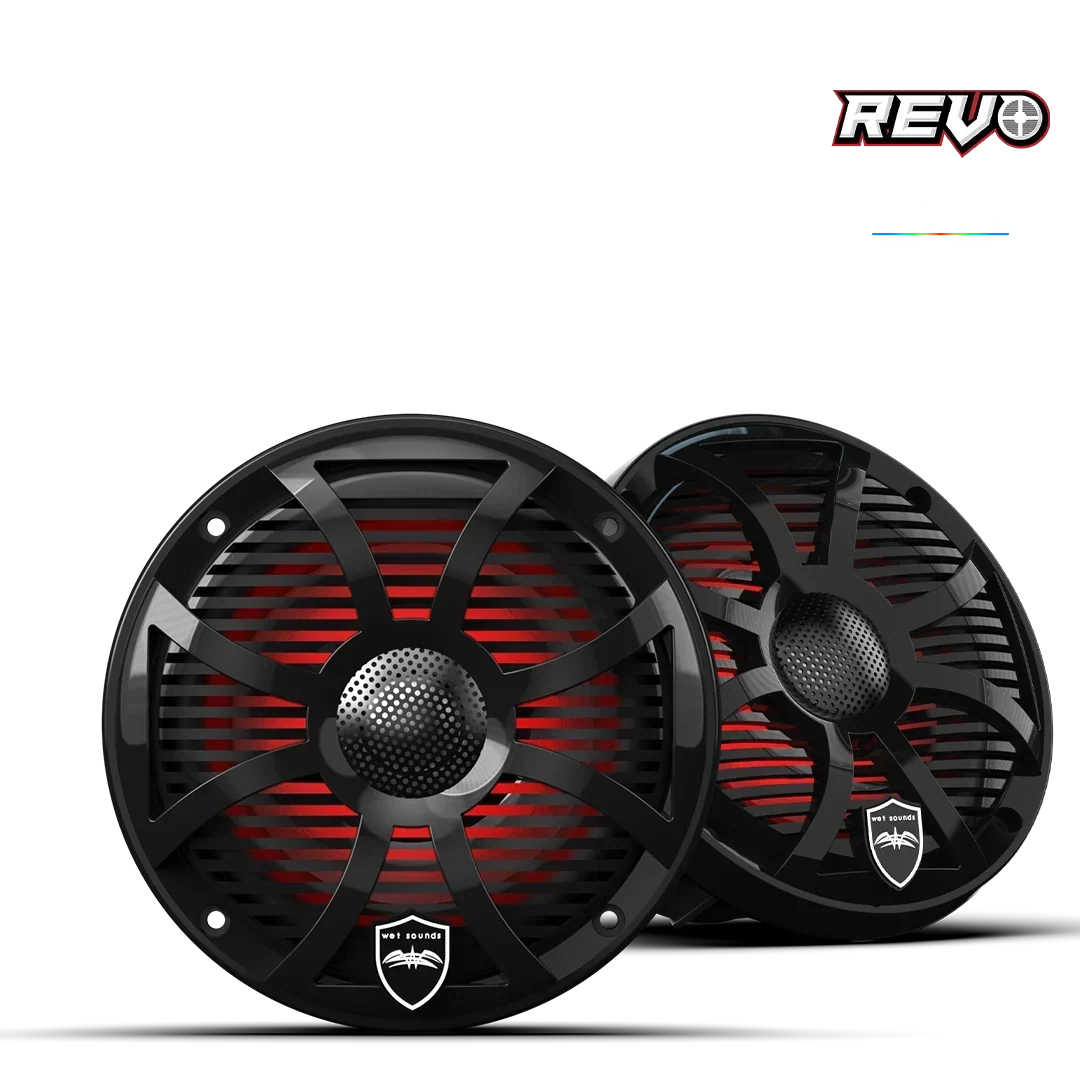
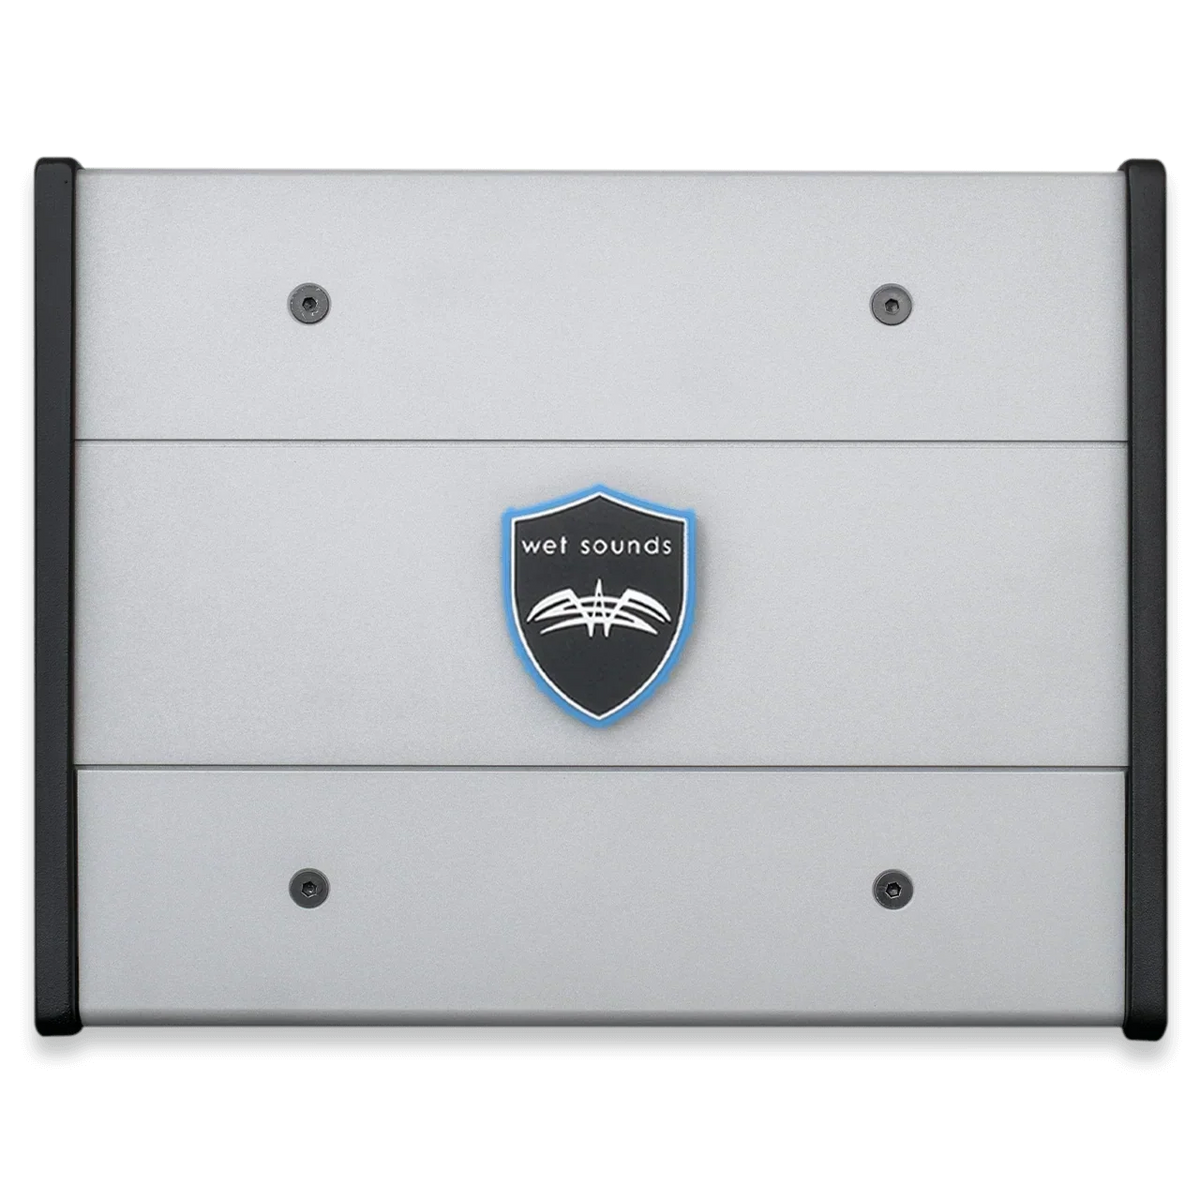
There's no single installation process that's right for every golf cart. What your install actually looks like depends on your cart's electrical system, how many speakers you're adding, whether you're including an amplifier, and how much of the wiring is already in place. That said, golf cart audio installs generally follow the same core sequence regardless of the specific components involved, since every system needs power, ground, signal, and speaker wiring connected correctly to work reliably. Two things matter most for a clean install: understanding how the components need to connect and following the steps in the right order. They're related, but they're not the same thing, and skipping ahead is one of the most common reasons an install doesn't work the first time.
Why Golf Cart Audio Installs Differ From Car Audio Installs
Golf cart electrical systems and car electrical systems solve different problems. A car's factory wiring is built around a 12-volt system designed for aftermarket audio from the start. A golf cart doesn't offer any of that. Many carts run on higher-voltage battery banks and weren't designed with audio wiring in mind, so tapping into the right power source correctly matters more than it would in a car.
Exposure adds to the challenge. Golf cart wiring often runs through open, exposed areas rather than a sealed dash, so protecting connections from weather and vibration takes on more importance during installation than it would in an enclosed cabin.
What Do You Need Before Starting a Golf Cart Audio Install?
A golf cart audio install typically requires the speakers, an amplifier if you're using one, appropriate gauge wiring, a fuse holder, mounting hardware, and basic tools like a wire stripper, crimper, and multimeter.
Beyond the parts list, it's worth confirming your cart's electrical system and voltage before buying components, since mismatched voltage or wire gauge is one of the more common reasons an install doesn't perform the way it should.
What Does Proper Grounding Mean for a Golf Cart Audio System?
Grounding a golf cart amplifier means connecting it to a clean, bare metal point on the cart's frame that provides a reliable return path for electrical current. It's one of the specs installers get wrong most often, and it's not the same thing as simply connecting a wire to any nearby metal surface.
A poor ground connection is a common cause of whining noise, intermittent power, or an amplifier that shuts off unexpectedly. Sanding the mounting point down to bare metal and using a properly sized ground wire generally solves this before it becomes a problem.
Golf Cart Audio Install Components: What Each One Does
Head Unit or Source What it does: Sends audio signal to the amplifier or speakers Why it matters: The starting point of the entire signal path
Amplifier What it does: Boosts the signal to drive the speakers Why it matters: Determines how much power reaches your speakers
Power and Ground Wiring What it does: Supplies electrical current and a return path Why it matters: A weak link here affects the entire system's reliability
Speaker Wiring What it does: Carries the amplified signal to each speaker Why it matters: Wrong gauge or a loose connection reduces output and clarity
Each component depends on the ones before it in the signal path, so a clean install addresses all of them in sequence rather than focusing only on the parts that are easiest to mount.
Why Wire Gauge and Fuse Placement Matter
Wire gauge and fuse placement are exactly where a golf cart install tends to succeed or run into problems. Undersized wiring can overheat under load, and a fuse placed too far from the power source leaves a stretch of unprotected wiring vulnerable to a short.
That doesn't mean bigger wire is always better. Wire gauge is one factor among several, and the right size depends on your amplifier's power draw and how far the wire runs. Oversized wiring paired with a poorly mounted amplifier won't necessarily outperform a properly sized setup installed correctly.
How Long Should a Golf Cart Audio Install Take?
The honest answer is that a golf cart audio install should take as long as it takes to route wiring cleanly and test each connection, rather than being rushed to get music playing quickly.
What that looks like in practice depends on a handful of variables: how many speakers you're installing, whether you're adding an amplifier, how much existing wiring you can reuse, and how experienced you are with basic electrical work. A install with time built in for testing at each stage will generally have fewer issues than one rushed straight through to final assembly. There isn't a single correct timeline that applies to every cart; the goal is a system that works reliably the first time you turn it on.
How Speakers and Amplifier Placement Work Together
Speaker placement and amplifier placement are two sides of the same equation. Speakers mounted too far from the amplifier need longer wire runs, which can introduce resistance and signal loss if the gauge isn't sized to compensate.
As an illustrative example only: an amplifier mounted centrally with short, direct runs to each speaker will generally perform more consistently than the same amplifier mounted at one end of the cart with a long run to a speaker on the opposite side. That's not a guarantee of performance for any specific setup, just a general illustration of how the relationship works.
How to Install Golf Cart Speakers and an Amplifier
A clean install usually comes down to following these steps in order:
- Confirm your cart's voltage and plan your power source
- Choose mounting locations for speakers and the amplifier
- Run power wire from the battery, including an inline fuse near the source
- Connect the amplifier to a clean, bare metal ground poin
- Run signal wire from the head unit or source to the amplifier
- Run speaker wire from the amplifier to each speaker location
- Mount the speakers securely and connect the wiring
- Mount the amplifier in a protected, ventilated location
- Test the system before securing panels and covers
- Tuck and secure all wiring away from moving parts and exposure
None of these steps works in isolation. A reliable install is the one where power, ground, signal, and speaker wiring have all been tested before everything gets buttoned up.
Why Testing Before Final Assembly Matters
Installing isn't just about connecting components. It's also a verification step. Testing the system with panels off catches wiring mistakes while they're still easy to access, rather than after everything is mounted and secured.
This matters for installs with multiple speakers and a dedicated amplifier, since one bad connection can be harder to trace once wiring is tucked away and covers are back on. A quick test at each stage delivers a more reliable final install than assuming everything is correct and finding out otherwise later.
Common Mistakes When Installing Golf Cart Audio
A few mistakes show up often enough to call out directly:
- Skipping the fuse near the power source. Unprotected wiring between the battery and fuse is vulnerable to a short.
- Grounding to a painted or corroded surface. A poor ground is one of the most common causes of noise and power issues.
- Using undersized wire for the amplifier's power draw. Wire gauge should match the amplifier's requirements, not just what's on hand.
- Mounting the amplifier in an exposed or unventilated spot. Heat and moisture exposure can shorten an amplifier's lifespan.
- Skipping the test before final assembly. Catching a wiring issue is far easier before panels and covers go back on.
- Ignoring wire routing near moving parts. Wiring left loose can wear through from vibration or contact with moving components.
- Assuming any metal surface makes a good ground. A proper ground needs bare, clean metal, not just proximity to the frame.
A Simple Checklist for Installing Golf Cart Speakers and an Amplifier
- Confirm your cart's voltage and power source
- Plan mounting locations before running any wire
- Install an inline fuse near the power source
- Ground the amplifier to bare, clean metal
- Run signal wire from source to amplifier
- Run properly sized speaker wire to each location
- Mount speakers and amplifier securely
- Test the full system before final assembly
- Secure and protect all wiring runs
- Double-check connections after the first few uses
Installing Golf Cart Speakers and an Amplifier: The Bottom Line
There's no universal install process that fits every golf cart. A reliable installation comes down to matching wire gauge to power draw, grounding properly, planning component placement, and testing before final assembly, all working together.
A clean install can genuinely transform how a golf cart audio system performs, but the components alone aren't what makes it reliable. They need to be installed correctly and tested along the way, not just connected and covered up.
Final Summary: Installing Golf Cart Speakers and an Amplifier
Getting a golf cart audio install right isn't about rushing to hear music as fast as possible. A few things matter more:
- Power source: Confirming voltage and fuse placement protects the whole system.
- Grounding: A clean, bare metal ground prevents noise and power issues.
- Wire gauge: Should match the amplifier's power draw and wire run length.
- Component placement: Affects wire run length, ventilation, and long-term reliability.
- Testing: Catches issues before panels and covers make them harder to reach.
The goal isn't the fastest install possible. It's a system wired correctly enough to work reliably every time you turn the key.
Get the Right Components for Your Install With Wet Sounds
Getting a golf cart audio install right comes down to matching the right components to your cart's electrical system and wiring them correctly, not just connecting whatever's on hand, and that's the approach we take with our powersports audio solutions. We build our systems for owners who want an install that holds up to real use, not just the drive home from the shop.
If you're planning an install and want components built for the job, we invite you to explore our golf cart audio solutions and find the setup that fits your cart.
Frequently Asked Questions
Do I need an amplifier to install golf cart speakers?
Not always. Some speakers can run directly off a head unit's built-in power, but an amplifier generally provides more consistent output and better sound quality, especially for larger speakers or a multi-speaker setup.
What gauge wire should I use for a golf cart amplifier?
The right gauge depends on your amplifier's power draw and how far the wire runs from the battery. Undersized wire can overheat under load, so it's worth matching gauge to your specific amplifier's requirements rather than guessing.
Why is my golf cart amplifier making a whining noise?
A whining noise that changes with engine or motor speed is often a sign of a poor ground connection. Sanding the ground point down to clean, bare metal and reconnecting usually resolves it.
Can I install golf cart speakers myself?
Many golf cart audio installs are approachable for someone comfortable with basic electrical work, especially with a clear plan for power, ground, and speaker wiring. More complex multi-speaker or multi-amplifier setups may benefit from professional installation.
How long does it take to install golf cart speakers and an amplifier?
Installation time depends on how many speakers you're adding, whether an amplifier is included, and how much wiring you're running from scratch. Building in time to test each connection along the way is worth more than rushing to finish quickly.